Meal Prep · Indian
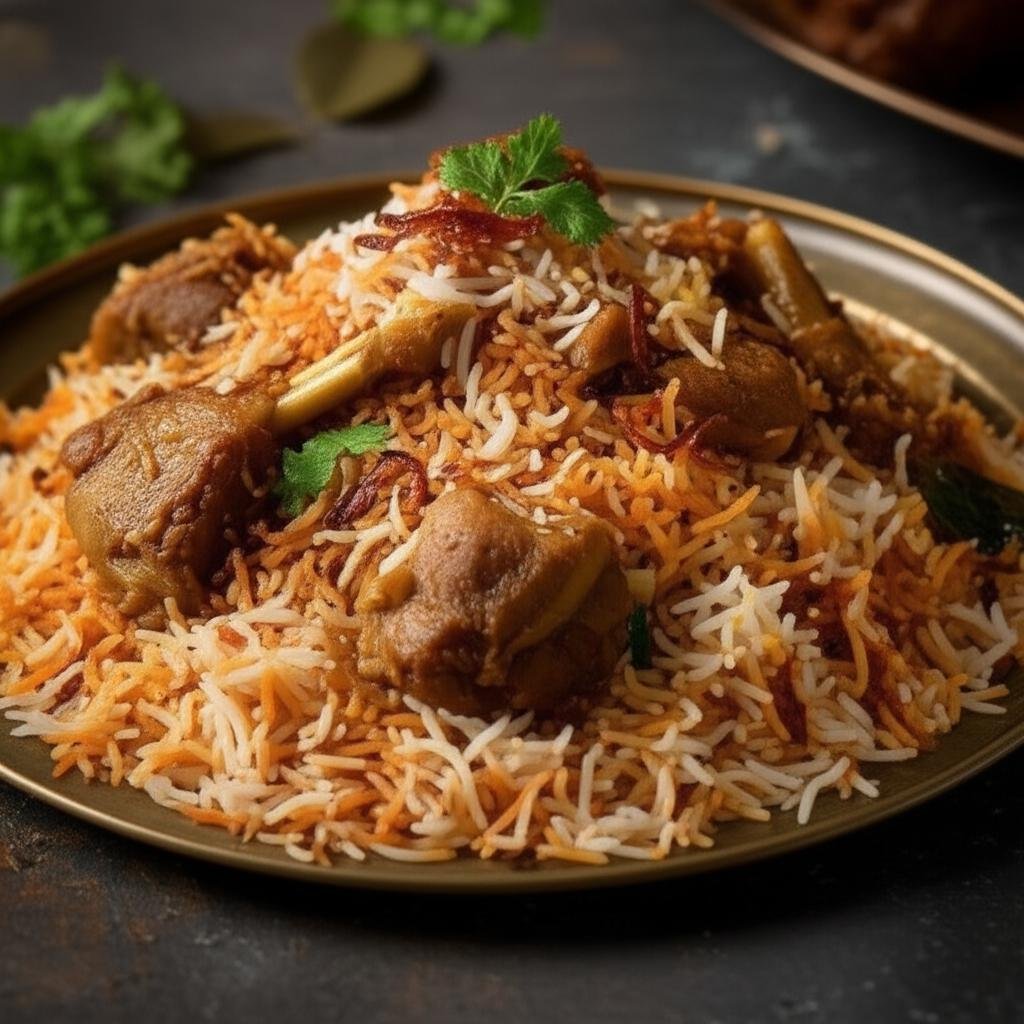
Ambur Mutton Biryani
Savor the exquisite aroma and rich, spicy flavors of this authentic South Indian Ambur Mutton Biryani.
Ingredients
Tap to check offMethod
Step-by-step- **Marinate Mutton:** In a large bowl, combine mutton pieces with yogurt, ginger-garlic paste, red chili powder, turmeric powder, garam masala, half of the mint and coriander leaves, and salt. Mix well and let it marinate for at least 1-2 hours (or overnight in the refrigerator).
- **Prepare Aromatics:** Heat ghee or oil in a heavy-bottomed pot or pressure cooker. Add cinnamon stick, cardamom, cloves, star anise, and bay leaf. Sauté for a minute until fragrant. Add sliced onions and cook on medium heat until golden brown, stirring frequently.
- **Cook Mutton:** Add chopped tomatoes and green chilies to the pot. Cook until tomatoes soften and oil separates. Now, add the marinated mutton and sauté for 10-15 minutes on medium-high heat until the mutton changes color and browns slightly.
- **Pressure Cook (Optional):** If using a pressure cooker, add about 1 cup of hot water, close the lid, and cook for 4-5 whistles or until mutton is 70-80% cooked. If using a pot, add 3-4 cups of hot water, cover, and simmer until mutton is tender (this will take longer). Once mutton is cooked, transfer it to a separate bowl, reserving the gravy.
- **Par-boil Rice:** While mutton is cooking, bring a large pot of water to a rolling boil. Add salt and the soaked Basmati rice. Cook until the rice is 70% cooked (it should still have a slight bite). Drain immediately.
- **Layer and Dum Cook:** In a clean, heavy-bottomed pot (or the same pot if you transferred the mutton), spread a layer of the cooked mutton with gravy at the bottom. Top with half of the par-boiled rice. Sprinkle with some remaining mint and coriander leaves. Repeat with another layer of mutton and rice. Pour lemon juice over the top. If desired, sprinkle a few drops of saffron milk (saffron strands soaked in warm milk) for color and aroma.
- **Seal and Dum:** Cover the pot tightly with a lid. You can seal the edges with dough or a heavy object on top to prevent steam from escaping. Cook on very low heat (dum cooking) for 15-20 minutes. Alternatively, place the pot in a preheated oven at 150°C (300°F) for 20-25 minutes.
- **Serve:** Once done, let the biryani rest for 10 minutes before opening the lid. Gently fluff the biryani with a fork, mixing the layers. Serve hot with raita and a simple salad.
Nutrition
Per serving| Nutrient | Amount |
|---|---|
| Calories | 620 kcal |
| Protein | 45 g |
| Fat | 30 g |
| Carbohydrates | 45 g |
| Fiber | 4 g |
Storage & Freezer Guide
Make it last Refrigerator 3-4 days
Store leftover biryani in an airtight container. Ensure it cools completely before refrigerating to prevent bacterial growth.
Freezer Up to 3 months
For longer storage, portion biryani into freezer-safe containers. Label with the date. Thaw overnight in the refrigerator before reheating.
Reheat Stovetop/Microwave
Reheat on the stovetop over low heat, adding a splash of water and covering, until heated through. Alternatively, microwave in short bursts, stirring occasionally, until hot.
Chef’s Corner
- **Quality Mutton:** Use fresh, good quality bone-in mutton for the best flavor and texture. Bone-in pieces add more depth to the biryani.
- **Rice Matters:** Always use good quality aged Basmati rice. Soaking it properly prevents breakage and ensures fluffy grains. Be careful not to overcook it during the par-boiling stage.
- **Dum Perfection:** The ‘dum’ process is crucial for infusing flavors. Ensure your pot is heavy-bottomed and the lid is sealed tightly to trap the steam and aromas.
- **Spice Adjustment:** Feel free to adjust the number of green chilies and red chili powder according to your preferred spice level. A little extra garam masala at the end can boost the aroma.