Meal Prep · South Indian
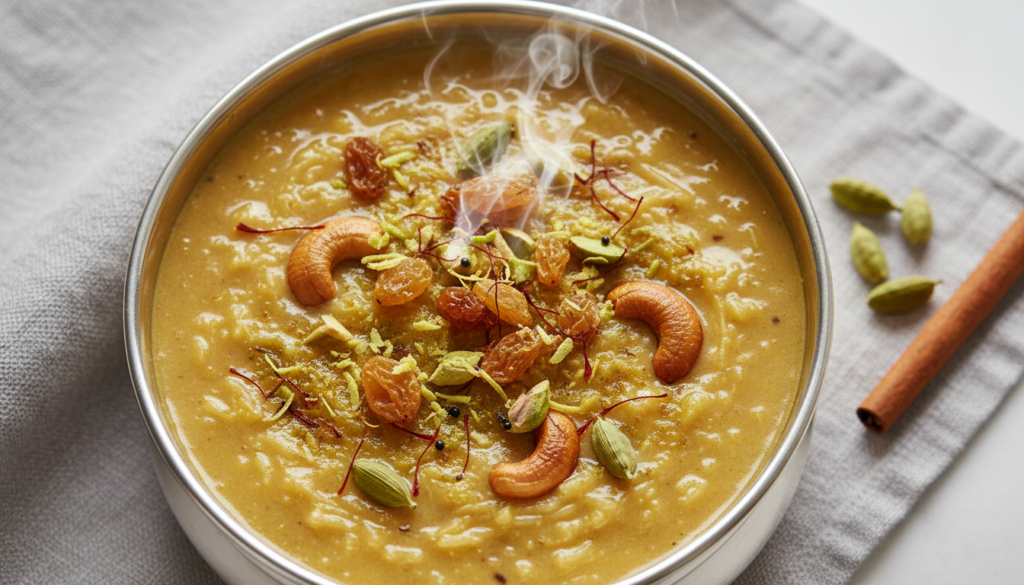
Kesari
A vibrant, sweet, and aromatic semolina pudding, a quintessential South Indian dessert often made for festivals and special occasions.

Ingredients
Tap to check offMethod
Step-by-step- Heat 2 tablespoons of ghee in a heavy-bottomed pan or kadai over medium heat. Add the broken cashews and fry until light golden brown. Add the raisins and fry until they puff up. Remove the fried cashews and raisins and set aside.
- In the same pan, add the semolina and roast it on low heat for about 5-7 minutes, stirring continuously, until it becomes aromatic and lightly golden. Be careful not to burn it. Transfer the roasted semolina to a plate and set aside.
- In the same pan, bring 3 cups of water to a rolling boil. Add the sugar, cardamom powder, saffron milk (if using), and food color (if using). Stir until the sugar dissolves completely.
- Reduce the heat to low. Gradually add the roasted semolina to the boiling water, stirring continuously with a whisk or ladle to prevent lumps from forming. Stir vigorously until all the semolina is incorporated and the mixture starts to thicken.
- Add the remaining ghee, a little at a time, stirring well after each addition. Continue to cook, stirring occasionally, until the semolina absorbs all the liquid, becomes thick, and starts to leave the sides of the pan (about 5-7 minutes).
- Stir in the fried cashews and raisins. Cook for another minute, then turn off the heat. Cover the pan and let it rest for 5 minutes to allow the Kesari to become softer and fully absorb the flavors.
- Serve warm, garnished with a few extra fried nuts if desired. You can also press it into a greased plate and cut into squares or diamond shapes once cooled slightly.
Nutrition
Per serving| Nutrient | Amount |
|---|---|
| Calories | 380-420 kcal |
| Protein | 4 g |
| Carbohydrates | 70-75 g |
| Fat | 15-20 g |
Storage & Freezer Guide
Make it last Refrigerator 3-4 days
Store leftover Kesari in an airtight container in the refrigerator. It may firm up when chilled.
Freezer Not recommended
Freezing Kesari is generally not recommended as it can alter the texture, making it somewhat grainy upon thawing.
Reheat Stovetop/Microwave
To reheat, place a portion in a microwave-safe bowl and heat for 30-60 seconds, or gently warm on the stovetop with a splash of milk or water to restore its soft consistency.
Chef’s Corner
- **Perfect Roasting:** Ensure the semolina is roasted thoroughly on low heat until aromatic. This step is crucial for a non-sticky and flavorful Kesari. Don’t let it brown too much.
- **Lump-Free Secret:** When adding semolina to water, pour it in a thin stream while continuously whisking or stirring vigorously. This prevents lumps and ensures a smooth texture.
- **Ghee for Gloss:** Don’t skimp on ghee! It contributes significantly to the rich flavor, aroma, and glossy appearance of Kesari. Adding it in stages helps incorporate it better.
- **Customizing Sweetness:** The sugar quantity can be adjusted to your preference. For a less sweet version, reduce by ¼ to ½ cup.